Microsoft first announced transcription for Teams meetings in Q1 of 2021. Live transcription is a written record of the spoken text that occurs during a meeting. It identifies the person talking automatically in near real time, and it is available for download after the meeting. It's important to note that it only works in scheduled meetings. In this post, we'll explore how it works.
Start by joining a scheduled meeting from your calendar.
Both, the meeting organizer, and attendees from your organization can start transcriptions. Guests outside your tenant/organization and anonymous users (attendees who don’t want to be identified in transcriptions) cannot start transcription in a meeting.
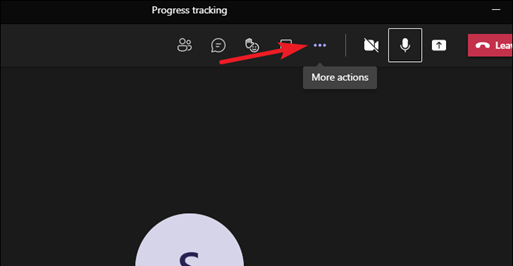
To start a transcription, go to More actions from the meeting toolbar.
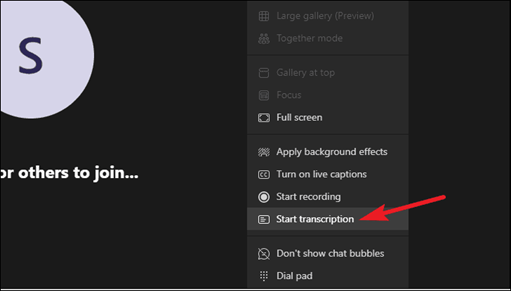
Then, select Start Transcription from the options.
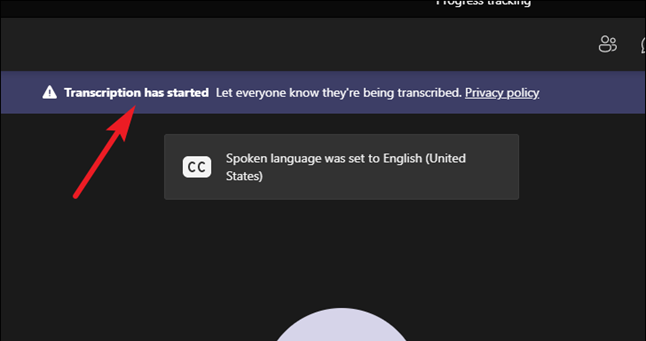
A notice that the transcription has started will appear for everyone in the meeting. At this point, it's good practice to let your attendees know that they are being transcribed as courtesy especially for participants who have joined from a phone using the dial-in option.
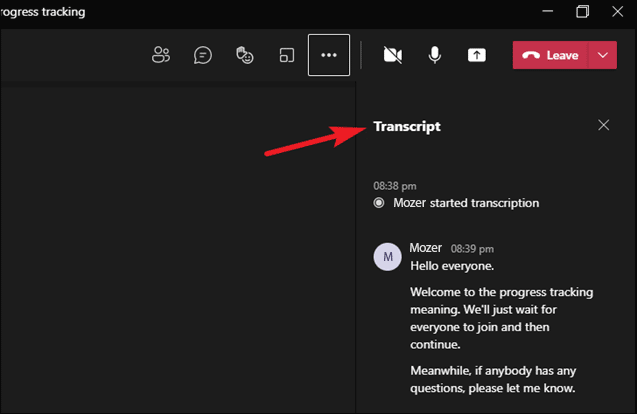
The transcription panel will appear on the right. The transcript will also include the username and profile icon of the participant as well as the time stamp.
All participants in the meeting can show or hide the transcript panel at any time. Click the ‘Close’ button on the panel to hide it.
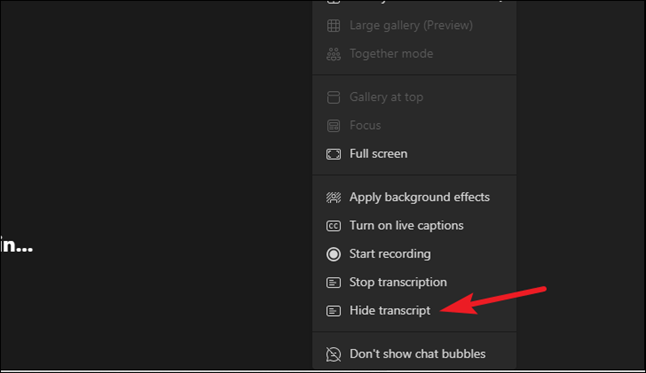
You can also go to the More actions menu and select Hide transcript from there.
To show the panel, select Show transcript from the More actions menu.
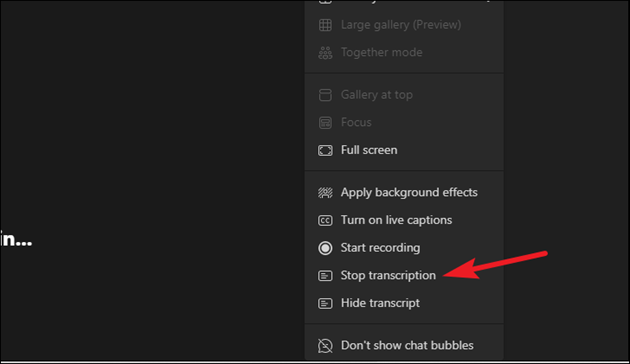
The meeting organizer and presenters can stop the transcription and restart it at any point during the meeting. To stop the transcription, navigate to the More actions menu and select Stop Transcription.
Everyone will get a notice that you stopped transcribing. The transcription will automatically stop when everyone leaves the meeting.
Downloading and Sharing Transcriptions
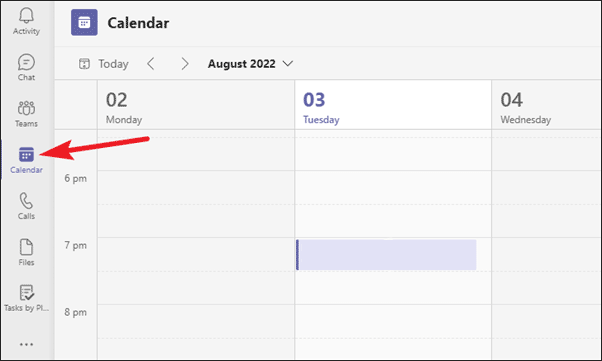
The meeting transcripts are available for download automatically after the meeting in the calendar event. Go to Calendar from the navigation panel on the left.
Then, open the event for the scheduled meeting.
The meeting page will have an additional tab at the top: Recordings and Transcripts.
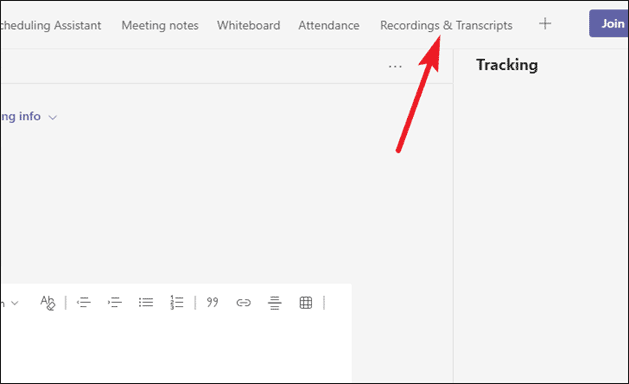
The entire transcript will be available to view there. To download it, click the download button.
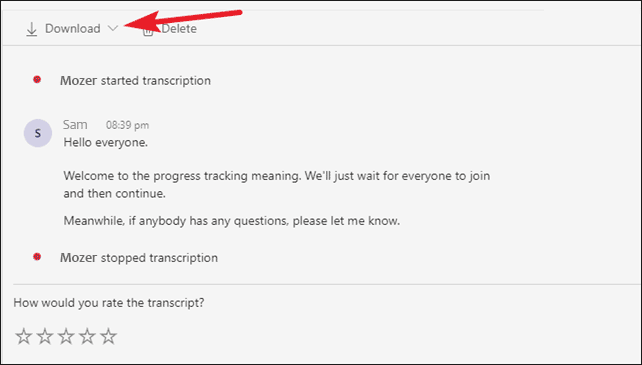
You can download the transcript as either a .vtt file (a popular format for transcripts) or a .docx file (Word document).
Transcriptions are available for download from the participant’s accounts until the meeting organizer deletes them.
Mobile participants cannot see the transcription on the mobile app. To make it accessible to mobile participants, download the file and upload it to chat. Go to the meeting chat and click the Attach button to upload the file.
Mobile participants can then find the file in their chat.
Hiding Your Identity in Transcriptions
Teams can identify the person speaking and meeting transcriptions automatically include the username and the person’s name. If you wish to remain anonymous in transcriptions, you can hide your identity. But you have to do so before a meeting.
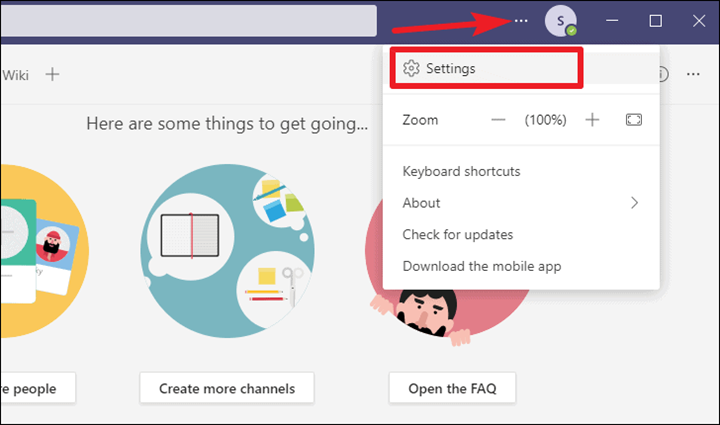
Click the Settings and more icon (three-dot menu) next to your profile icon on the title bar. Then, select Settings from the menu.
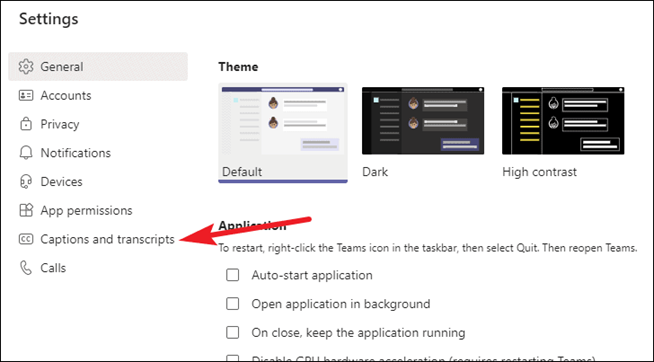
Settings will open. From the navigation menu on the left, go to Captions and transcripts.
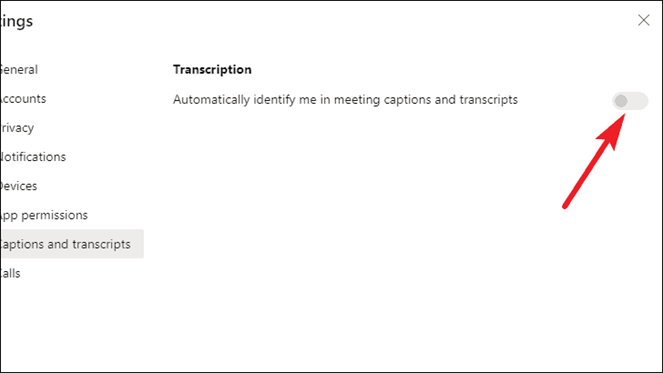
Then, turn off the toggle for Automatically identify me in captions and transcripts.
Transcriptions are a great feature and Microsoft Teams certainly makes them easy to use. So next time you want to take meeting notes or want to make the meeting content accessible for everyone, you can transcribe the entire meeting.